Yocto + Qt6 on Raspberry Pi 4B: Repository Walkthrough
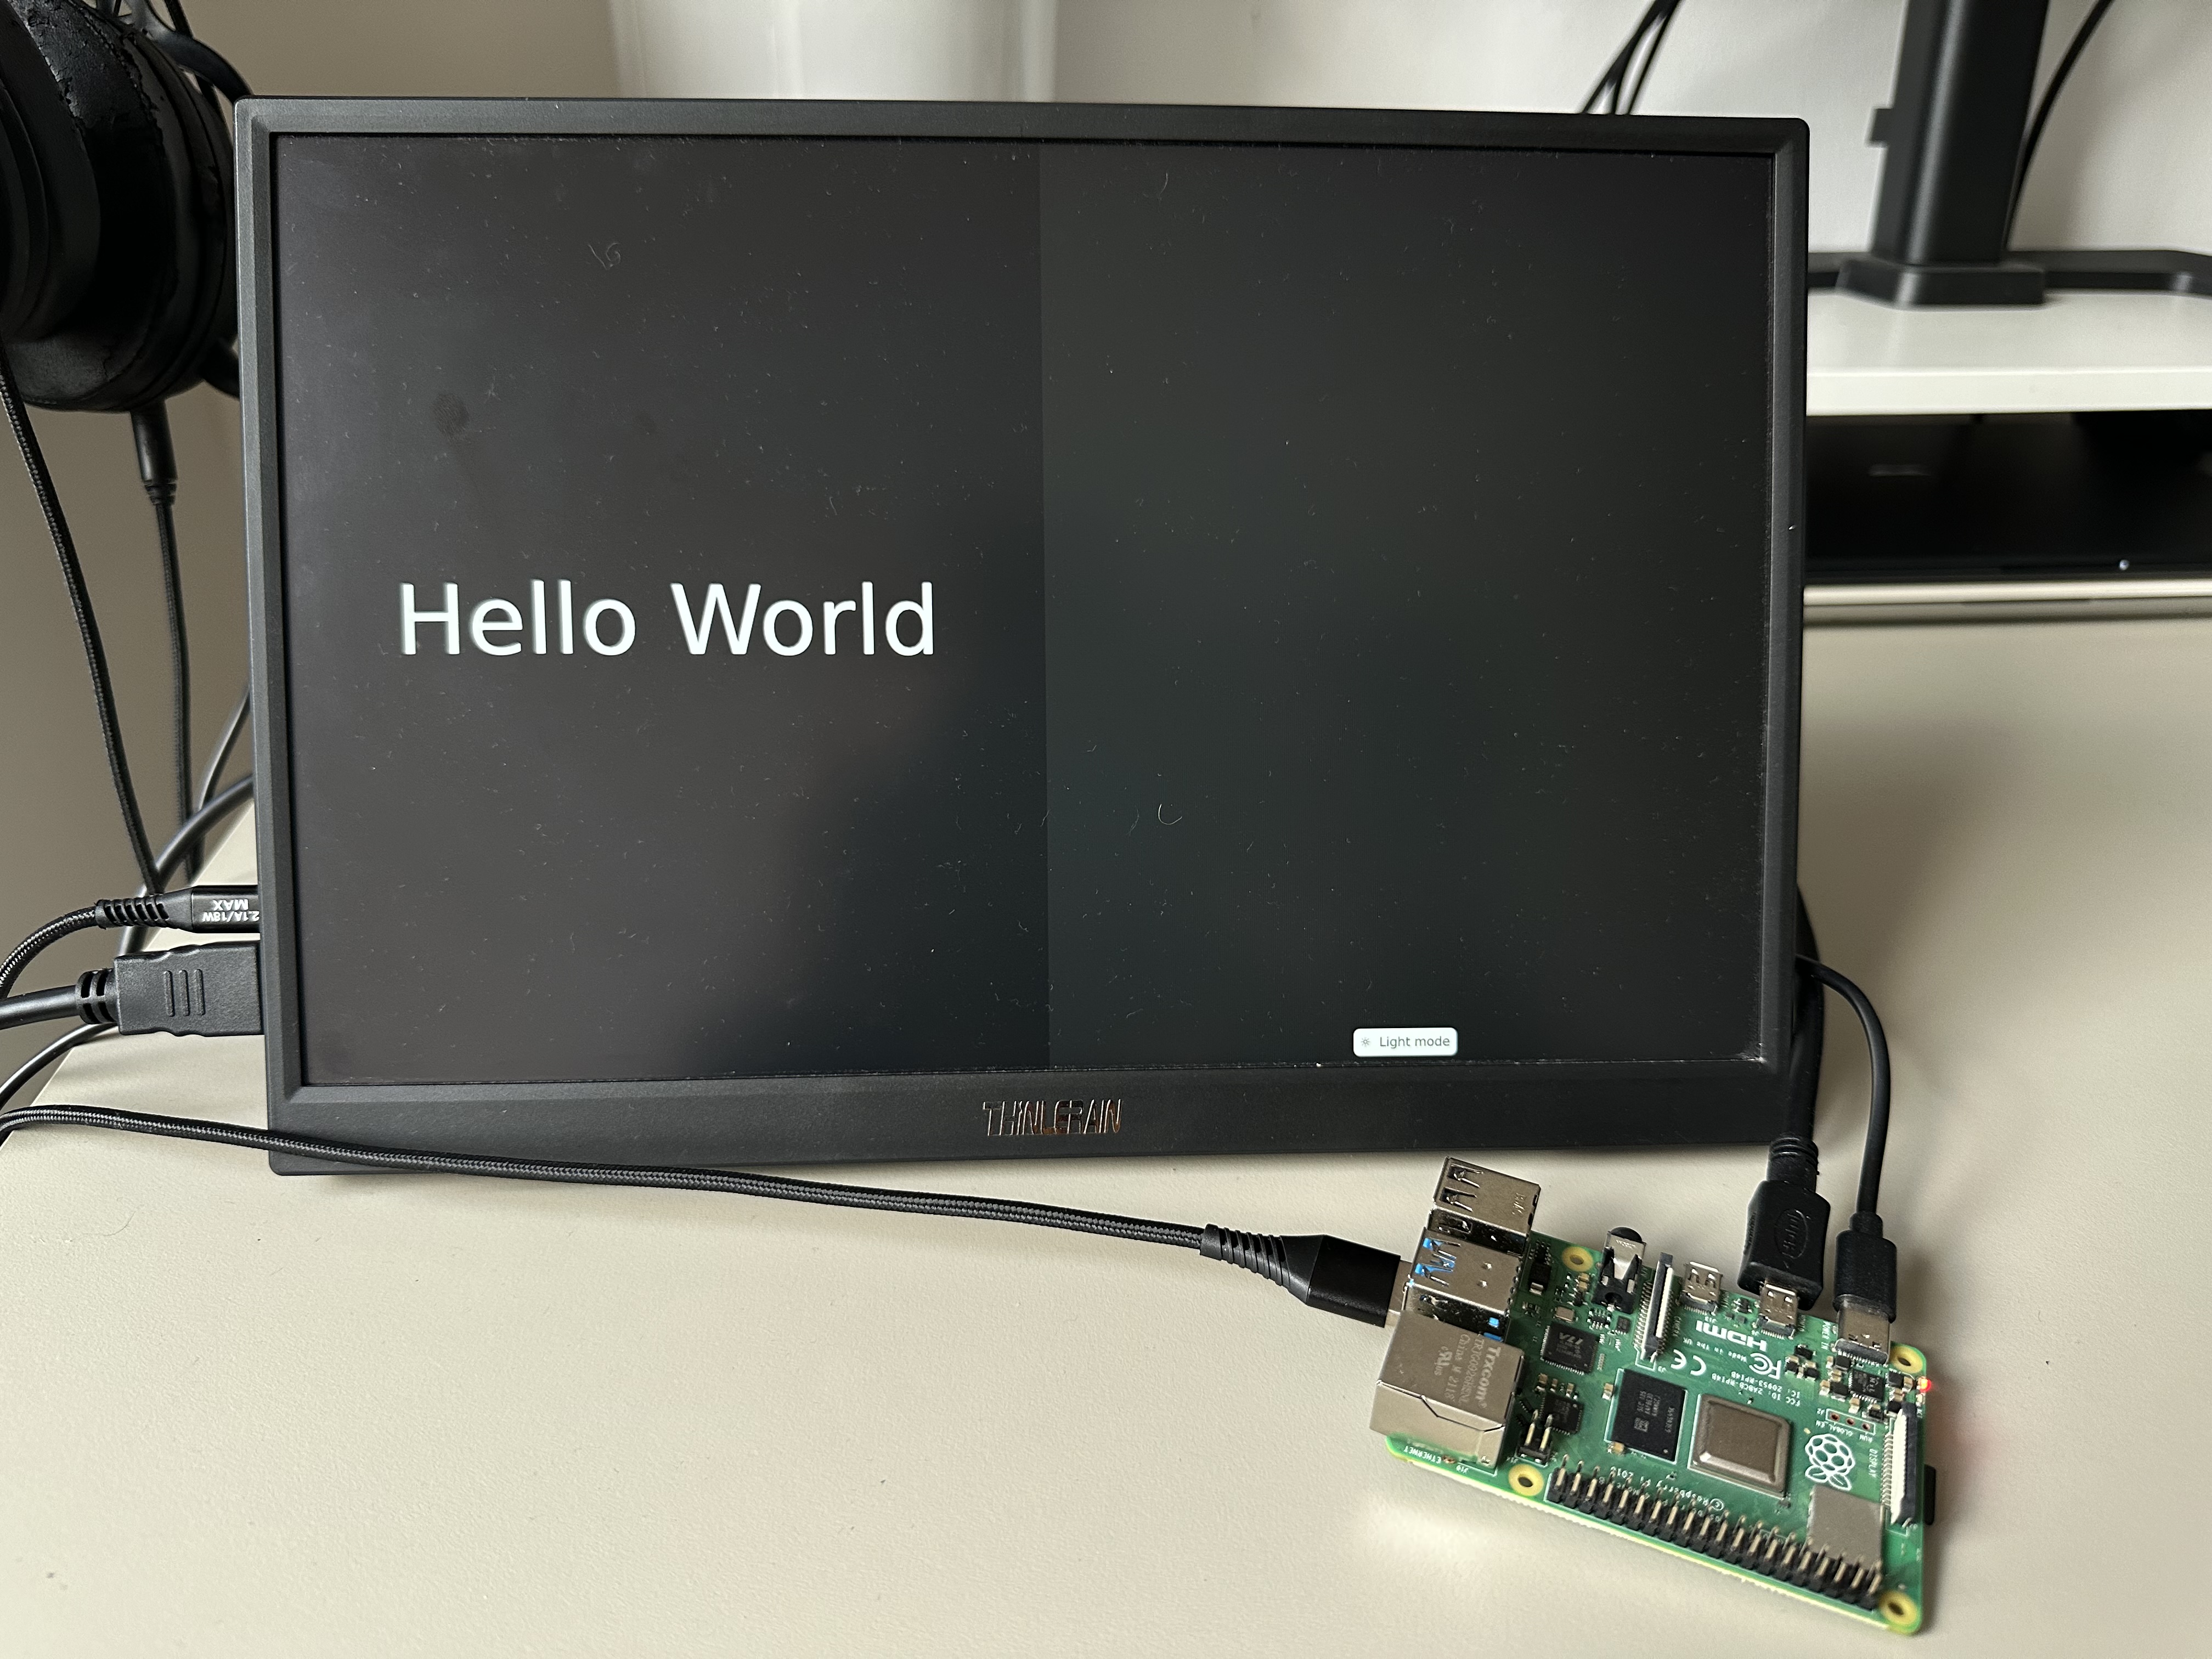
This post is a guided tour of yocto-qthelloworld-project - a complete, reproducible Yocto setup that builds a minimal Linux image for the Raspberry Pi 4B and launches a fullscreen Qt6/QML application automatically on boot.
Part 2 - the full journey with every decision, dead end, and hard-won fix - is up: Yocto + Qt6 on Raspberry Pi 4B: Full journey.
What you get at the end
A Raspberry Pi 4B that you power on and, with no login and no commands typed, shows a fullscreen Qt QML application. No desktop environment, no X11, no Wayland compositor, no window manager. The app draws straight to the screen through Qt’s EGLFS platform plugin, which is how real embedded appliances and kiosk devices normally work.
The whole image is core-image-minimal plus exactly what the app needs, so it stays small and boots fast.
The stack, pinned
| Component | Version / branch |
|---|---|
| Yocto release | Scarthgap 5.0 (LTS) |
| Poky | scarthgap @ 6b7474f |
| meta-raspberrypi | scarthgap @ 6ca1f75 |
| meta-openembedded | scarthgap @ 7eb9410 |
| meta-qt6 | 6.8.3 @ 00c3bd9 |
| Target machine | raspberrypi4-64 (aarch64) |
| Init system | sysvinit (Poky default) |
| Host | Ubuntu 24.04, WSL2 or native |
Scarthgap was picked over the newer Wrynose release deliberately: it is the LTS, it is mature, and it is what the majority of current documentation and community answers assume. If you are following a project written by someone else, that matters more than being on the newest thing.
What is actually in the repository
1
2
3
4
5
6
7
8
9
10
11
yocto-qthelloworld-project/
├── config/
│   └── local.conf              # the real build config used for this project
├── meta-qthelloworld/          # the custom layer (the only original code here)
├── meta-openembedded/          # submodule, pinned
├── meta-qt6/                   # submodule, pinned
├── meta-raspberrypi/           # submodule, pinned
├── poky/                       # submodule, pinned
├── .gitmodules
├── .gitignore
└── README.md
Four of those top-level folders are git submodules. Nothing of theirs is vendored or copied in - the repo just records which upstream commit each one should sit at. git submodule update --init --recursive reconstructs the exact layer set the image was built from.
meta-qthelloworld - the part that is mine
This is the layer that turns a stock reference image into a product. It contains:
1
2
3
4
5
6
7
8
meta-qthelloworld/
├── conf/
│   └── layer.conf
└── recipes-apps/
    └── qthelloworld/
        ├── qthelloworld_git.bb
        └── files/
            └── qthelloworld        # sysvinit init script
conf/layer.conf is the file that makes a directory count as a layer at all. Without it, bitbake-layers add-layer simply does not recognise the folder. It declares the layer’s internal name (qthelloworld), its priority (6), which Yocto release it is compatible with (scarthgap), and which other layers it depends on (core and qt6-layer).
qthelloworld_git.bb is the recipe. It fetches the application source from a separate repository, QtHelloWorld, pinned to an exact commit via SRCREV, builds it with the qt6-cmake class (the Qt6-aware CMake integration that meta-qt6 provides for cross-compilation), and installs both the binary and the init script.
1
2
3
4
5
6
7
8
9
10
11
12
13
14
15
16
17
18
19
20
SUMMARY = "Qt Hello World QML application"
LICENSE = "CLOSED"

SRC_URI = "git://github.com/mateusz-fejcher7/QtHelloWorld.git;protocol=https;branch=main \
           file://qthelloworld"
SRCREV = "74e09623f1b0841dfdc51e23b97bded78180ad16"

S = "${WORKDIR}/git"

inherit qt6-cmake update-rc.d

DEPENDS = "qtbase qtdeclarative qtdeclarative-native"

INITSCRIPT_NAME = "qthelloworld"
INITSCRIPT_PARAMS = "start 99 5 . stop 20 0 1 6 ."

do_install:append() {
    install -d ${D}${sysconfdir}/init.d
    install -m 0755 ${WORKDIR}/qthelloworld ${D}${sysconfdir}/init.d/qthelloworld
}
Two details in there are worth more than a glance:
qtdeclarative-nativeinDEPENDS. Cross-compiling a QML app needs some Qt tooling (notablyqmlcachegen) to run on the host architecture while everything else links against target libraries. Yocto models that with parallel-nativerecipe variants. Leave this out anddo_configurefails withCould NOT find Qt6QuickTools.update-rc.d, notsystemd. This image uses sysvinit, because that is Poky’s default init policy and switching the whole distro over to systemd for one autostart app is a far bigger change than the problem justifies.
The init script itself sets QT_QPA_EGLFS_HIDECURSOR=1 (no mouse pointer on a kiosk screen) and launches the binary detached with start-stop-daemon, passing -platform eglfs explicitly. That flag is not optional: Qt will not pick EGLFS on its own just because it was compiled in.
config/local.conf - the saved build configuration
oe-init-build-env always generates a fresh template local.conf from a sample file. That template is not the config this project needs, so the real one is kept in the repo and copied over the generated one. It carries:
MACHINE ??= "raspberrypi4-64"- 64-bit ARM, not the legacy 32-bitraspberrypi4DISTRO_FEATURES:remove = "x11"- the single line that routes Qt’s build into its EGLFS backend instead of its X11-assuming desktop-OpenGL oneIMAGE_INSTALL:append = " qtbase qtdeclarative qthelloworld ttf-dejavu-sans"- Qt, QML, the app, and a font (a minimal image ships with none, and without one every string renders as empty boxes)DL_DIRandSSTATE_DIRpointed at a persistent location outsidebuild/, so wiping the build directory does not throw away every download and every cached build artifact
That last one is the difference between a 20-minute rebuild and a multi-hour one. Note that the paths in the committed file are absolute, so change them to match your own home directory.
See it in action
Building it
Host requirements: Ubuntu 24.04, native or under WSL2. If you are on WSL2, keep the project on the native Linux filesystem (~/...), never under /mnt/c/. Yocto performs hundreds of thousands of small file operations per build, and every one of them under /mnt/c/ crosses a translation layer into NTFS.
Install the host packages listed in Scarthgap’s system requirements, then generate the locale that BitBake’s server needs:
1
2
sudo locale-gen en_US.UTF-8
sudo update-locale
WSL’s minimal Ubuntu base image does not generate en_US.UTF-8 by default, and installing the locales package is not the same as having the locale generated. Skip this and BitBake fails with a confusing “Unable to connect to bitbake server” error.
Clone with submodules:
1
2
3
git clone https://github.com/mateusz-fejcher7/yocto-qthelloworld-project.git
cd yocto-qthelloworld-project
git submodule update --init --recursive
Set up the environment:
1
2
cd poky
source oe-init-build-env
source matters. Running the script any other way executes it in a child process, so its PATH changes and directory change die with that process and bitbake will not be found. This has to be re-run in every new terminal.
Restore the config, from poky/build:
1
cp ../../config/local.conf conf/local.conf
Register the layers, also from poky/build:
1
2
3
4
5
bitbake-layers add-layer ../../meta-raspberrypi
bitbake-layers add-layer ../../meta-openembedded/meta-oe
bitbake-layers add-layer ../../meta-openembedded/meta-python
bitbake-layers add-layer ../../meta-qt6
bitbake-layers add-layer ../../meta-qthelloworld
Check the result with bitbake-layers show-layers. You should see raspberrypi, openembedded-layer, meta-python, qt6-layer, and qthelloworld alongside the three Poky layers. Note that folder names, layer names, and repo names are three independent strings in Yocto: the folder meta-oe registers itself as openembedded-layer, and meta-qt6 registers as qt6-layer.
Build:
1
bitbake core-image-minimal
Run a bitbake -n core-image-minimal dry run first if you want cheap validation of the config before committing to the real thing. And run the real build inside tmux or screen - if you build in an editor’s integrated terminal and the editor crashes, the build dies with it.
Flash the output from tmp/deploy/images/raspberrypi4-64/core-image-minimal-raspberrypi4-64.rootfs-<timestamp>.wic.bz2 with Raspberry Pi Imager, balenaEtcher, or USBImager. All three read .bz2 directly, so there is no need to decompress first.
Boot the Pi. The app comes up fullscreen on its own.
Swapping in your own application
The repo is structured so that this is the easy part:
- Point
SRC_URIinqthelloworld_git.bbat your own repository and setSRCREVto the commit you want pinned. - Make sure your
CMakeLists.txthas realinstall(TARGETS ... RUNTIME DESTINATION ${CMAKE_INSTALL_BINDIR})rules, otherwisedo_installhas nothing to stage. - Update the binary name in the init script’s
start-stop-daemonlines. - Add any extra Qt modules your app needs to
DEPENDSand toIMAGE_INSTALL:append.
Everything else - EGLFS, the fonts, the autostart wiring, the pinned layer set - carries over unchanged.
Known rough edges
LICENSE = "CLOSED"in the recipe is honest for a private project but should become a real SPDX identifier plusLIC_FILES_CHKSUMif you open-source your app.- sysvinit does not restart a crashed process the way systemd’s
Restart=alwaysdoes. The init script does not implement crash recovery. - The
DL_DIRandSSTATE_DIRpaths inconfig/local.confare absolute. Edit them. - On WSL2, the
.vhdxbacking file grows as the build fills it but never shrinks when you delete files from inside Linux. Reclaim space from Windows withwsl --shutdownfollowed byOptimize-VHDordiskpart. Treat it as recurring maintenance, not one-time setup.